Neat Video - How to fix Grainy Video
Fix Video Noise – Best Plugin for Premiere Pro Neat Video
Learn how to fix noise in Premiere Pro with the simplest and easiest plugin for Adobe Premiere Pro – Neat Video. One of the most underrated tricks for an editor is an excellent restoration technique. However, removing digital noise, grain, or flicker is not always easy. That is unless you have powerful noise reduction software such as Neat Video.

Neat Video 5 is a professional noise reduction plugin capable of being used with Adobe After effects, Adobe Premiere Pro, DaVinci Resolve, and many more Windows OS and macOS applications. Other capable software can be found over on their website here.
3 Types of ways to own Neat Video 5:
Demo: 1280×720 resolution with a watermark
Home: 1920×1080 resolution, use up to one GPU, and it is for non-commercial use – $74.90 for most apps (Resolve is $89.90)
Pro: NO resolution restrictions, works on two or more GPUs simultaneously, and can be used commercially – $129.90 per app ($159.90 for Resolve)
You can see all of the pricing details here.
Neat Video is by far the easiest and best noise reduction software I have ever used for ANY editing application.
YouTube Reviews
How does Neat Video Work?
After purchasing, installing and registering for Neat Video Premiere Pro, removing digital video noise is extremely simple. As a result, you can quickly begin by applying the plugin to an adjustment layer to the necessary Video in the timeline. Therefore, as a simple and straightforward procedure, you can use it with 3 practical steps:
- Click on "Build Preview".
- Click on "Auto Profile.
- Finally, click "apply".
Lastly, this is the simplified version of how to use the plugin. However, this is my workflow for 90% of my grainy videos. As a result, within three steps, you can achieve simply outstanding results.
Looking to go further beyond the auto profile? You can manually adjust the requirements inside of the settings of the plugin. Automatic profiling does the best possible job to find a uniform colour and noise profile in the process. However, this does not always work! Therefore, when building a noise profile in Neat Video, you require a uniform area, for example, dark night skies. The larger the sample area, the higher accuracy for the software to build a profile for.
Additionally, if you're unable to find the advanced settings, this will be due to beginner mode. When the plugin is first loaded, the beginner mode is installed by factory standard. Therefore, to activate the advanced mode, head to the "tools" menu. Here you'll be able to fine-tune the noise profile.
The plugin has preset build in by default to assist with:
- Light flicker
- Jitter of details
- Moire flicker
- Dust & Scratch Filters
- repeat frame issues
- Artifact Removal Filter
- And more…
Neat Video Samples?
How slow is rendering?
Regarding playback and rendering speed from noise reduction software, it's never going to be fast. For example, have you ever tried to reduce the noise in an image? It takes too long time. Therefore, if you're recording at 24fps and the clip is 10 seconds long – you'll have to render 240 images. Never mind performing that on 4k footage.
However, the new playback window inside the neat video plugin will typically play your footage to preview the noise reduction results. Furthermore, in Adobe Premiere Pro, the footage will generally be unusable for playback. It is one of the most processors- and GPU-intensive tasks you will run on your computer.
How I solve this issue.
Generally, I rarely use Neat Video unless clearly, I have to. Therefore, when the time comes to using the plugin for a low-light or drone video, I open up a new timeline. This allows me to work only on the Video that needs rendering. My steps:
- Open up a new sequence
- Import video that needs rendering
- Apply Neat Video
- Make noise reduction alterations
- Export video
- Import video on the previous timeline.
Finally, I have noise reduction applied. My rendering and playback times are up to speed, and it will not slow down my overall timelines workflow. Additionally, when importing the footage that needs corrections made, I do not apply any colour correction. As a result, I refer all my colour corrections to the main timeline, so colour grading is seamless throughout the full-length Video.
Is Neat Video worth it?
Short answer – Yes! I've used neat Video for the past 2 years working for higher-end paid clients. The neat Video has changed how I can shoot in low-light with an APS-C camera and sell the footage.
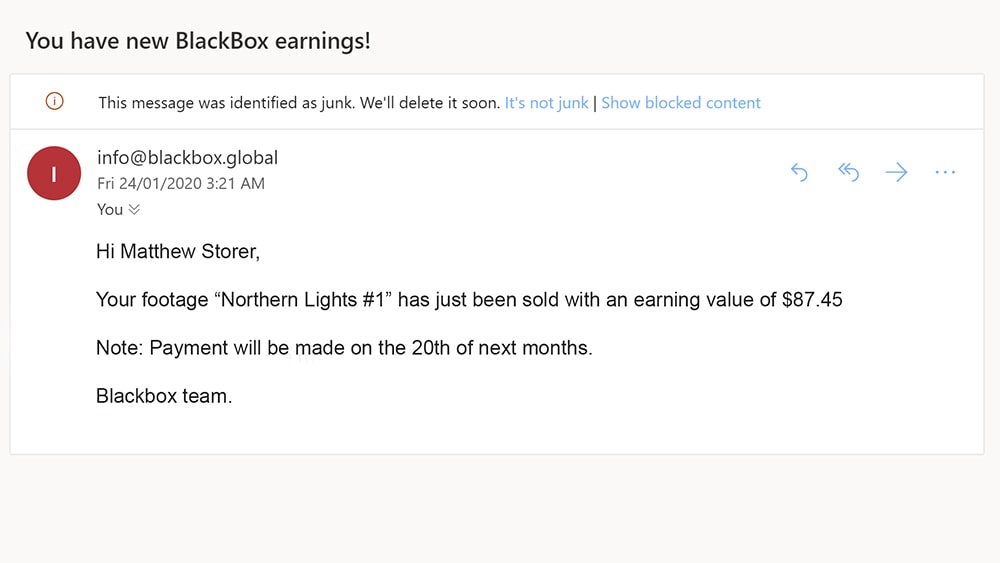
In conclusion, for Neat Video's price, I was able to make money back within the first month of using the product. Working with paid clients from my portfolio or selling unique stock footage on Blackbox from low-light situations or improving my drone quality.
Not only will neat Video make your footage look better. As a result, it will clean up the unwanted light flicker, remove spots and jitters in your footage, plus more! Give your footage a professional feel. Just remember the addition rendering time!
If you feel like purchasing Neat Video – Click here!
