How To Use a POLARIZER Filter In Field Review - Beginners Guide
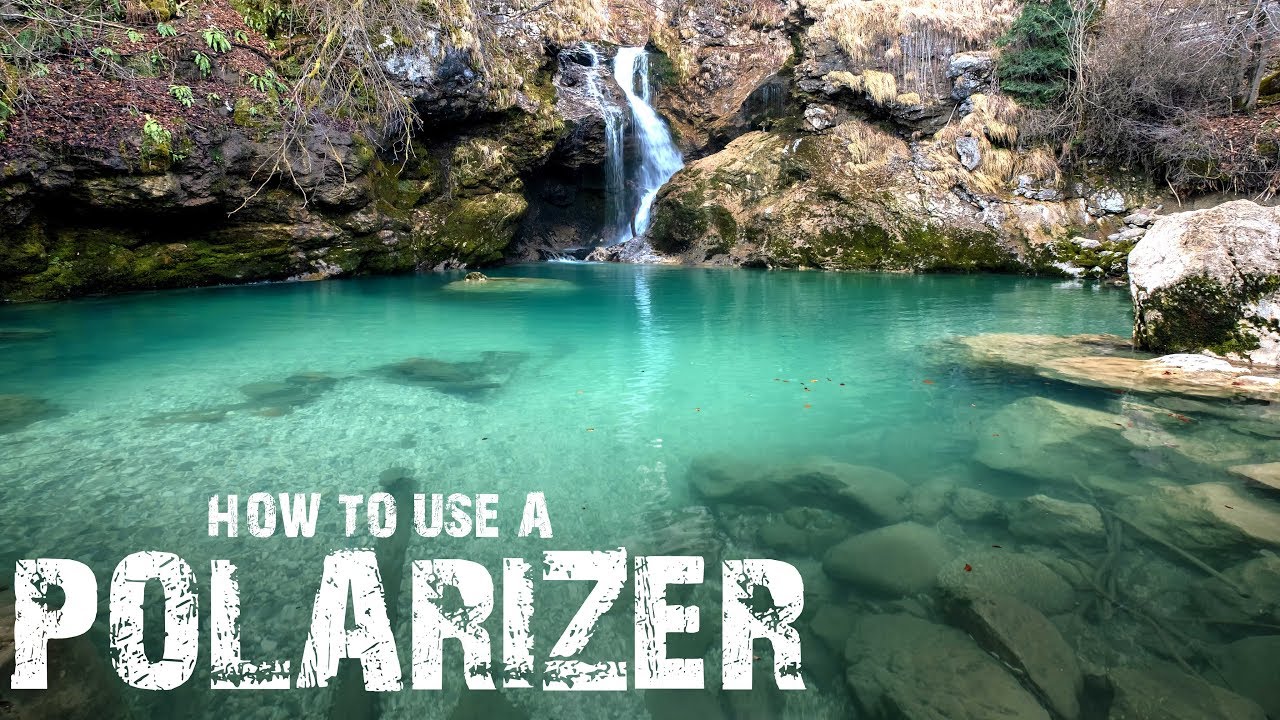
In Field Beginner Review of A Polarizing Filter?
A Polarizer Filter in Landscape Photography is a glass element placed on the front of a camera lens in photography to manage reflections and reduce glare from the water's surface or darkening skies. This filter is most commonly known as a circular polarizing filter (or CPL). This filter helps create an in-camera effect that is not possible in post-production. As a result, this article will focus on reducing unwanted reflections from the water's surface. As previously stated, it is a technique that's only accomplished in the camera, making this filter a must-own filter for all landscape photographers!

What is a Polarizing Filter?
There are three main techniques for using a polarizing filter. Be sure to subscribe because I will be going into more depth regarding the other reason in future vlogs & blogs. You can watch this video here to learn how to use a polarizer.
Below are three main reasons to own a polarizer:
- Reduce unwanted glare from water or shiny surfaces.
- Cut through the haze.
- More pop in the landscape - bluer skies or greener leaves.
Firstly, a polarizer works in a straightforward concept that any photographer, from beginner to expert, can incorporate in their landscape photography. Secondly, the polarizer works by rotating the filter on the front of your lens. Finally, you'll select the filtration amount needed to achieve the creative effect for your photography taste.
There are also times where you do not want to use a polarizing filter which I will touch on here.
Pro Tip: The easiest way to witness the effect happening is by putting your camera in live mode and lock everything down manually in the camera. Fix the composition in place on a tripod and engage the filter. You'll see the histogram move darker by 1/3 to 2/3 of a stop. It is resulting in one of the three desired objectives above.
Do you need a polarizing filter?
If you're sitting there asking yourself, "do I need a polarizer for landscape photography?" Great question, if you ask me - yes!
Personally, as a full-time Landscape photographer, I have multiple issues to deal with. I travel a lot, I don't earn a great deal, and well, the hard facts are - filters are expensive.
But for me, a polarizing filter is a MUST OWN and possibly the only filter you honestly need. I run many photography workshops worldwide and see tons of people with filters on filters on filters. So many things run through my head:
"How much did that all cost you?"
"How will you replace it all if your bag falls and they all break?
"Do you REALLY use them all?"
"Tell me honestly, was it worth the money!"
But, saying that, I respect everyone's decision, especially when it comes to money. Additionally, the truth from my side is that you only truly need one filter, and it's doesn't cost three arms and four legs!
If you ask yourself, "why is a polariser the only filter I need" well, then great because below, I have sample images to show you why!
DOWNLOAD POLARIZER RAW IMAGES HERE!!!
Watch how to use a Polarizer Filter.
Polarizer Filter Examples in Landscape Photography
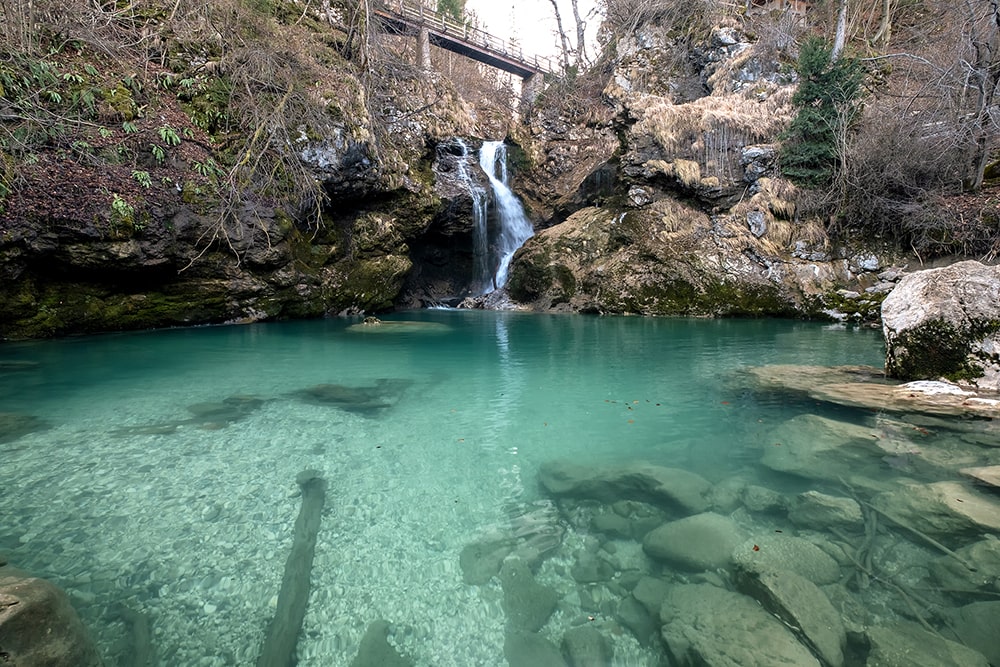
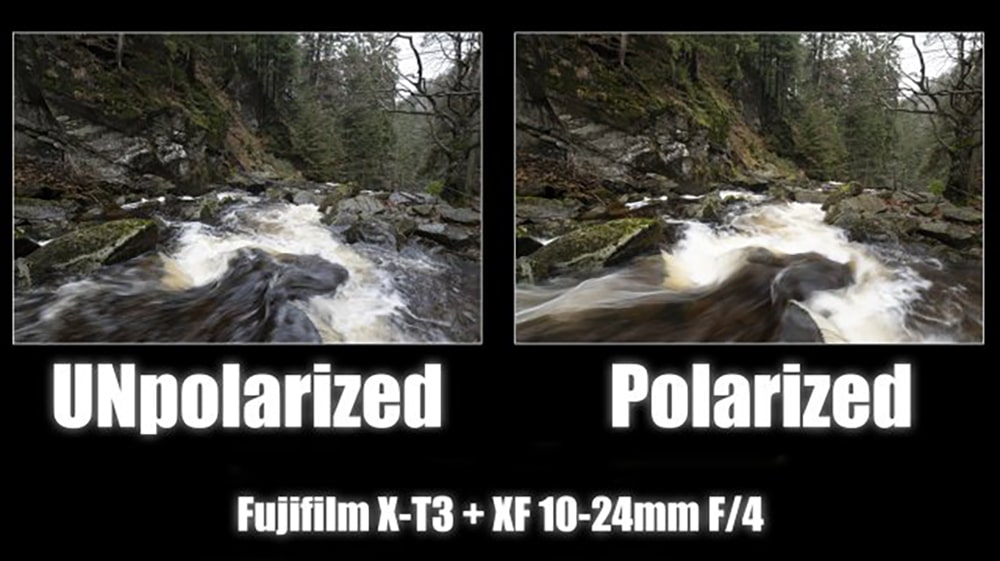
The images below are a comparison of two identical scenes but one with and one without a polarizer. As a result, they are entirely different visually in these particular areas:
- Water pool (centre bottom of the frame)
- Rocks (mainly on the right/middle)
- Green throughout the image (moss on rocks & pine trees in the background)
- Slightly darker colour cast over the entire image
Besides, the two main areas I wish to talk about is flowing water and wet rocks. Firstly, the enhancement of the more profound and richer blacks in the water, a result only achieved in-camera by adding a polarizer. Secondly, the glare on the wet rock will only be eliminated in-camera by a polarizer.
Finally, it's 100% impossible to replicate these outstanding results in any post-production software or plugin. Therefore, making polarizer filters a must for any landscape photographer.
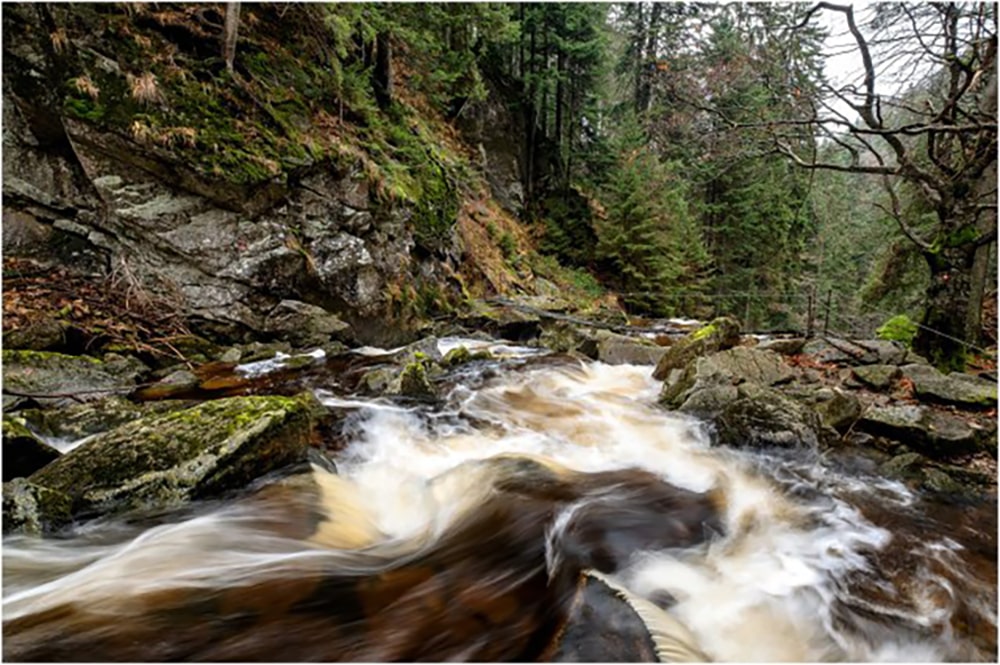
Below: An edited version of the polarized image, this result in the image could never be achieved without a polarizer.
BEST polarizer for landscape photography
The best polariser for your photography is the filter that can accommodate your budget, as this is a must-own filter for your landscape photography. Below I have recommended three different polarizers for everyone's budget.
- Affordable Polarizer: Tiffen Circular Polarizer
- Mid-range Polarizer: Hoya Pro-1 Digital Circular Polarizing Filter
- Top range Polarizer: B+W Xs-Pro Htc Circular Polariser Filter Kasemann MRC Nano 30.5 mm
An affordable polarizer will be satisfactory; the issues you will encounter with a budget filter are called 'colour cast'. You can find out what colour cast is here. Colour cast, easily rectified in post-production from the use of editing software or plugins.
Being a professional photographer, I require gear that will keep up with my everyday demands. When I ventured into photography over a decade ago, I began learning the process with affordable filters and concentrating on the process rather than gear. After years of trial and error, I eventually got better and better. At this point, I finally upgrade my polarizer, something I recommend for any beginner photographer.
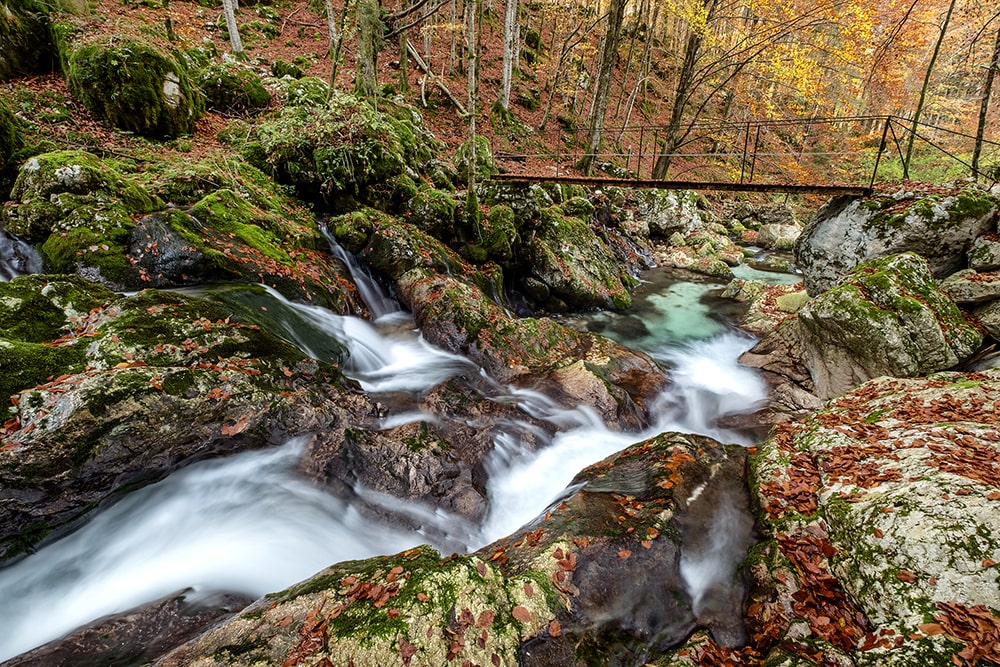
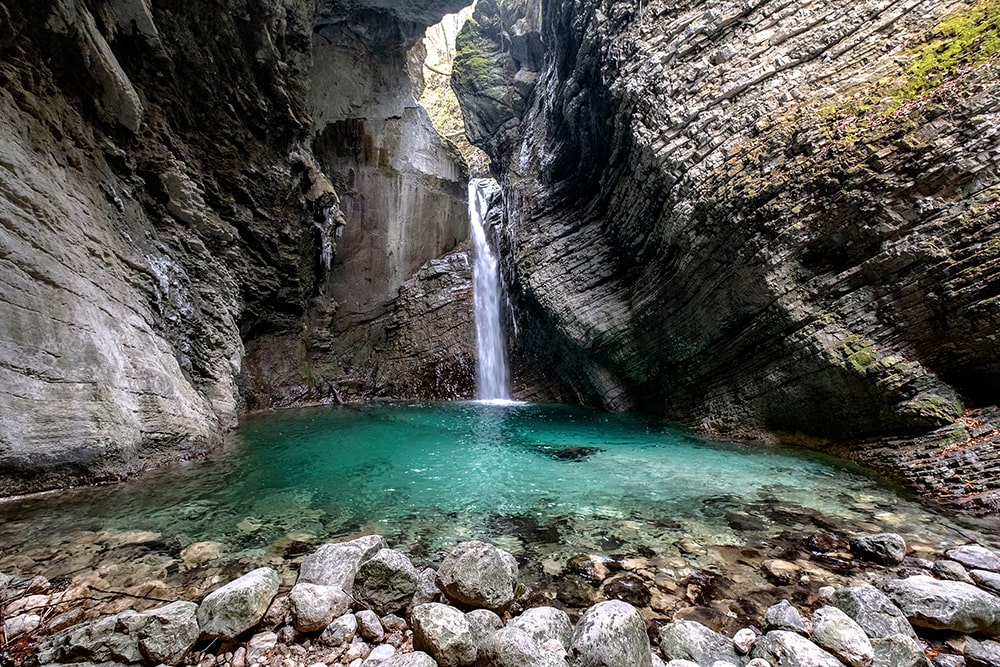
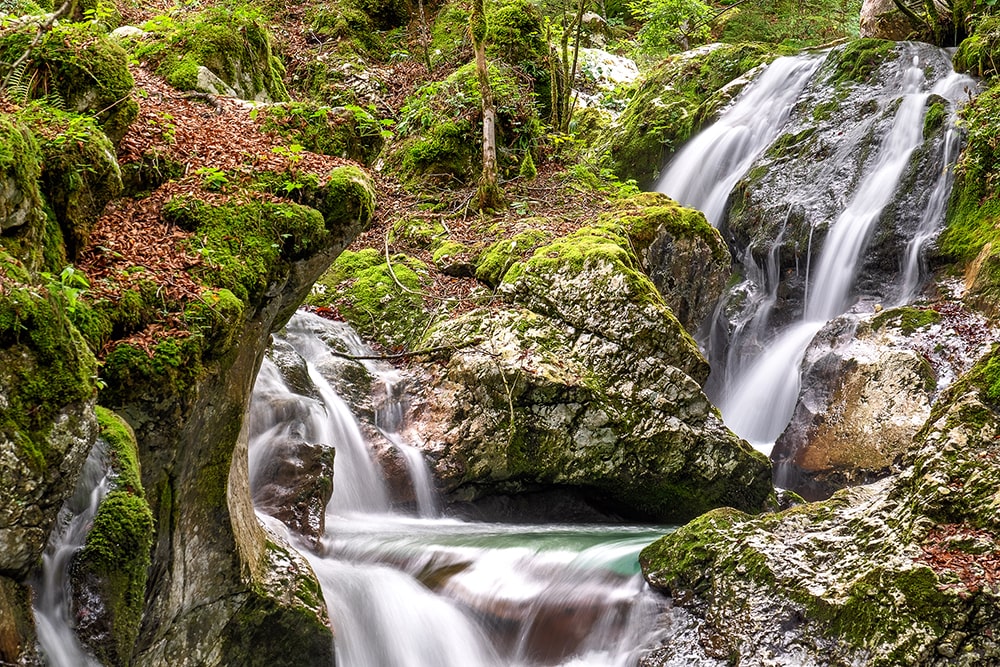
Images with a Polarizer Filter
Conclusion
I use a polarizer for 75% of my landscape images; that's why I heavily endorse it through all my content. If money is an issue, remember a more affordable polarizer will get the job done. Bottom line, as I always say, gear is not everything - any camera will capture a fantastic image. Still, additional camera gear will not create images!
